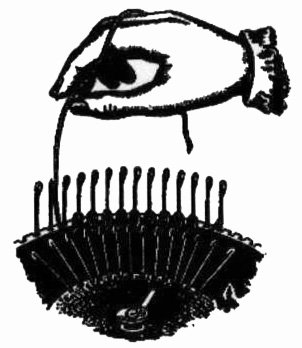
KNITTING A SOCK IN STOCKINETTE- You can now start
knitting by turning the crank, being careful to hold the set up basket down with
the left hand, to assure that the yarn goes on to the needles and that the
stitches don't skip, the stitches must always be kept at the bottom of the
needles on the top of the cylinder. Continue to knit the leg in
stockinette stitch counting the number of rounds in order to reproduce exactly
the same length for the second sock.
FIRST PART OF HEEL- Stop the yarn carrier at point C,
lift the needles at the back of the line B-C, that is, the needles between B-A-D
by bringing the heel of the needles up to the spring band. Pass the yarn
into the heel spring F in order that the spring will take up all the slack in
the yarn and will maintain the tension when you will have to turn the machine in
reverse. Carefully hold the stitches down on the line B-C-D by pulling
down on the set up basket during the whole process.

Turn the crank and stop the yarn carrier at point A. Lift the first needle on the right side at D, turn backwards in the direction D-C-B and stop the yarn carrier at A; lift the first needle on the left side at B, and return in the direction B-C-D again stopping the yarn carrier at A. Continue thus lifting the needles on the S side and on the B side one at each row, stopping the yarn carrier each time at A, until there are only 12 or 10 lowered needles left on the cylinder according to the size of the heel which you wish to knit. (The more needles you leave lowered in the cylinder, the larger the heel will be.)
HOOK FOR HOLDING THE HEEL KNITTING- In the second
part of the heel, the "heel hook" No.7423 must be used in order to
hold down the work at the bottom. Attach the double hooks at equal
distance from the center of the heel three rows below the rim of the cylinder. Next
attach a single hook No7422 3/4 inch to the left of the double hook about 3/4
inch below the top of the cylinder. See the point a-b, c-d on the inside of the
inner circle of the diagram on page 3, indicating the position of these
hooks. Put the weights on the weight holder and pull down by hand if the
weight is not sufficient to hold the work all the way to the bottom, that is
hold the stitches on the top of the cylinder well into the needles.
SECOND PART OF THE HEEL- Your yarn carrier No.7048 is
stopped at point A, lower the last needle lifted on the right and knit (in
front) in the direction B-C-D stopping the yarn carrier again at point A, lower
the last needle lifted on the left side, turn in the direction D-C-B.
Continue thus, lowering a needle first on the left side then on the right,
always on the side opposite the yarn after each row, hold the work pulled down,
especially the corners at points 3&4, until all the needles on the line
B-C-D have been lowered into the cylinder, at the last row stop the yarn carrier
at point C.
Now lower all the needles that are up between B-A-D, being
careful to open all the latches, and continue to knit the foot in the same
manner as the leg, counting the number of rounds, so as to have the same length
on the second sock. When you wish to have the foot knitted more tightly than the
leg, thread the yarn through the heel spring F.
5